chrisphan.com

Hexagonal snowflakes

An analog clock reading 11:542021-12-13 / 2021-W50-1T23:54:00-06:00 / 0x61b83178

Categories: crafts, math

A hexagonal piece of blue paper with various holes cut into it, resembling a snowflake.

A hexagonal paper snowflake

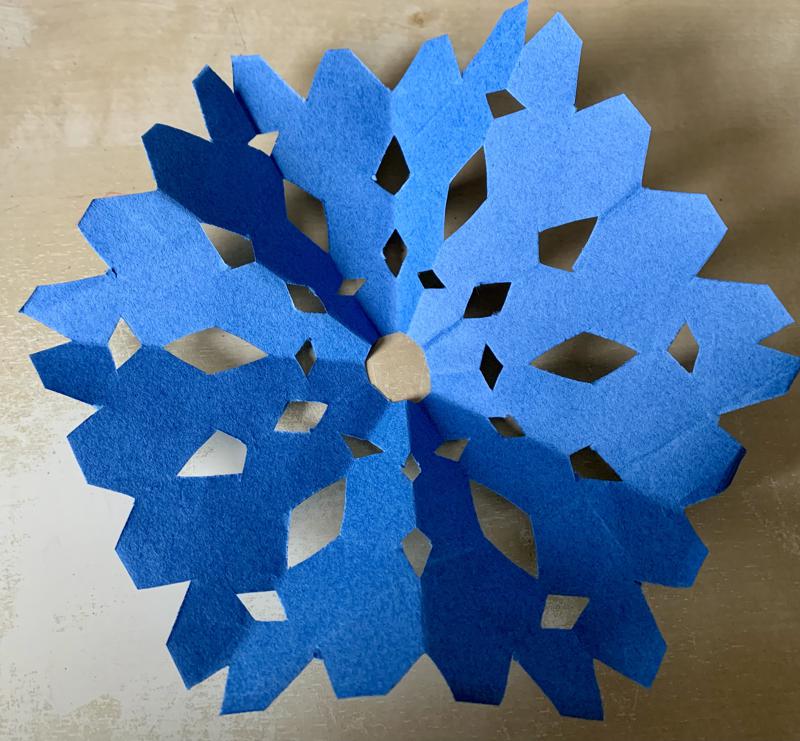
Remember back in elementary school, where you made paper snowflakes by folding a square piece of paper into a small triangle and then cut notches into it? One thing that always bothered me is that you end up with a square snowflake, whereas real snowflakes are hexagonal. Recently, when I was doing craft projects with my daughter, I wondered if I could come up with a way to make hexagonal snowflakes.

A square piece of blue paper with various holes cut into it.

The classic square paper snowflake. Real snowflakes are hexagonal, not quadrilateral.

After some trial and error, here’s what I came up with. (I suspect that this construction is already known, e.g., by people who have studied origami.)

In these diagrams, green lines represent the folds to make in that step, white lines represent pre-existing creases, and purple lines represent the cuts to make in that step.

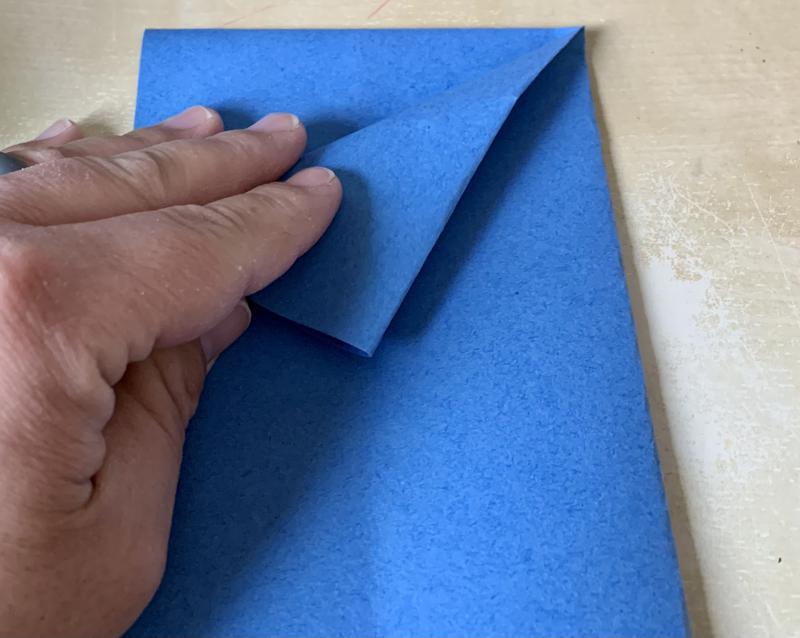
First, fold a piece of paper in half lengthwise.

A sheet of US letter paper in portrait orientation with a green vertical line.

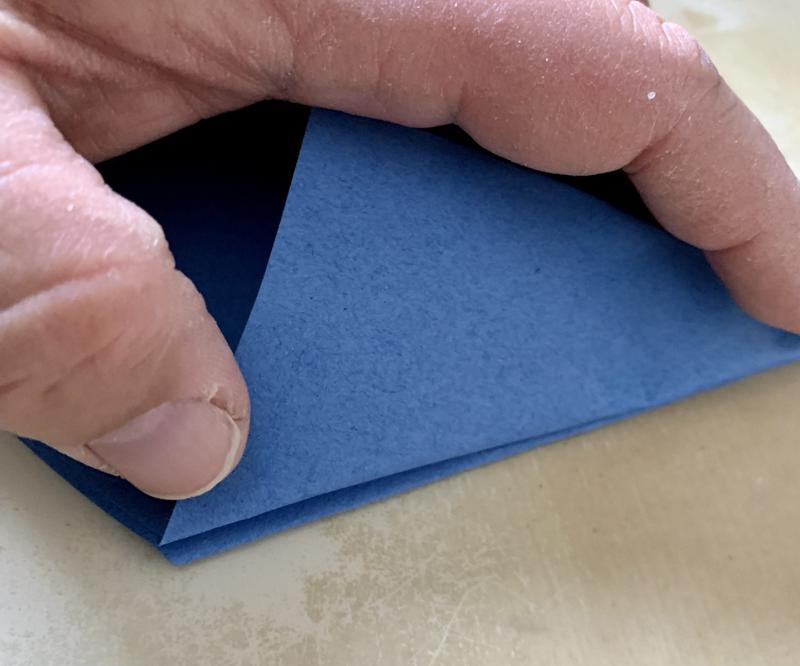
Next, fold the paper in half lengthwise, again.

The left half of a sheet of paper in portrait orientation, with a green vertical line.

Unfold the paper. The paper should now be divided into four equal strips lengthwise. Fold the paper in half widthwise.

A sheet of paper in portrait with four vertical creases and a green horizontal line.

Next, fold the paper in half again, along the first crease you made. Orient the resulting twice-folded paper so that the folded edges are on the top and right, and the paper's original edge are on the bottom and left.

The bottom half of a sheet of paper in portrait orientation, with four vertical creases, the central of which is green.

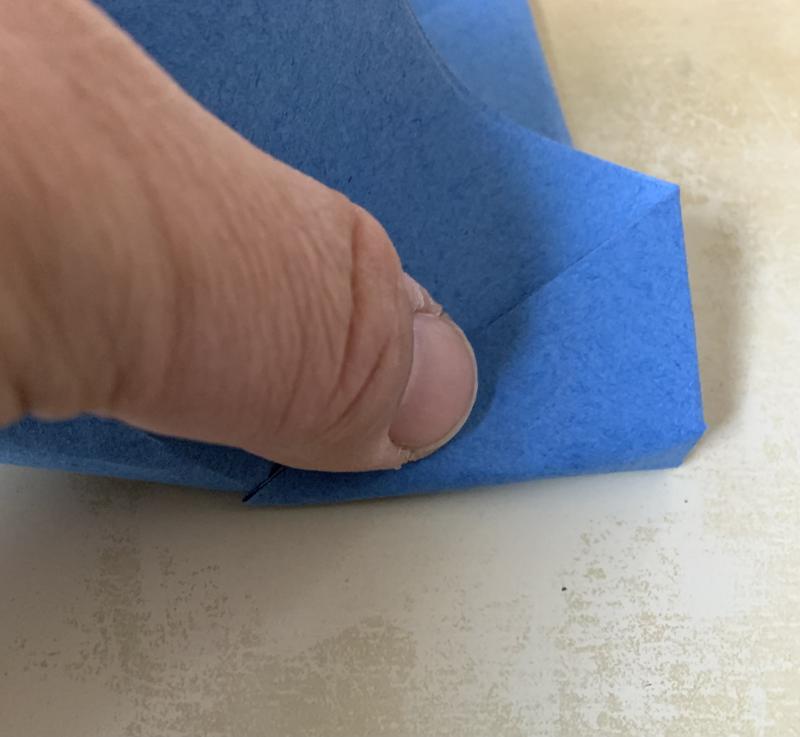
Now, fold over the top left corner, so that the resulting crease starts at the top-right corner, and so the corner of the resulting fold touches the middle crease.

The bottom-left quarter of a sheet of paper in portrait orientation, with a vertical crease and a green diagonal line from the left edge to the upper-right corner. The sheet of paper in the last diagram, except that the top left portion of the paper is folded over, so that its corner touches the vertical crease.

A hand performs the fold just described.

The corner of the fold should touch the crease.

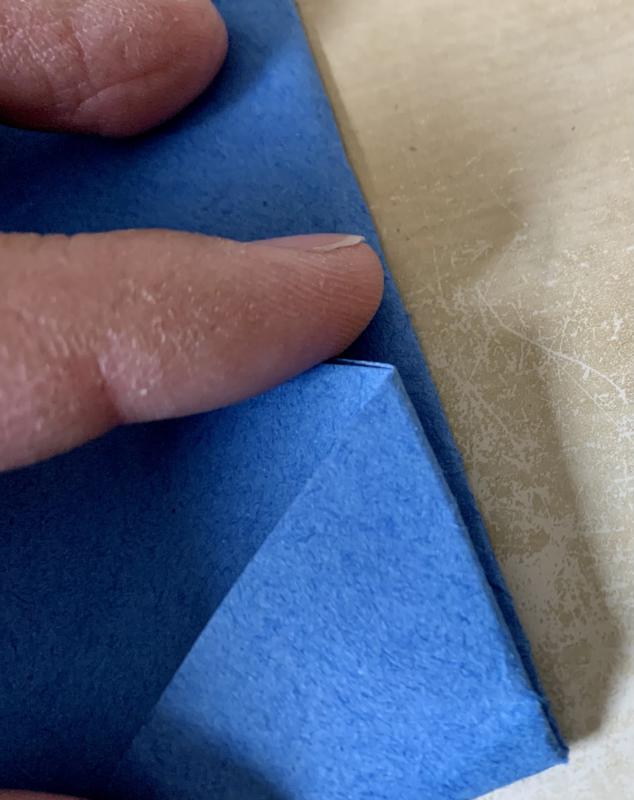
Flip the paper around and repeat the same move. Then unfold once, so that you have a half-sheet with two corners down, as in the diagram. Note that it's important that the two creases meet in the middle.

A thumb and index finger push the flap down so that its fold aligns with the fold of the other flap.

When you fold the second flap, its top should line up with the top of the first flap.

The bottom half of a US letter size piece of paper in a portrait orientation, with four vertical creases, and the top two corners folded down so that the corner of each flap touches a vertical crease.

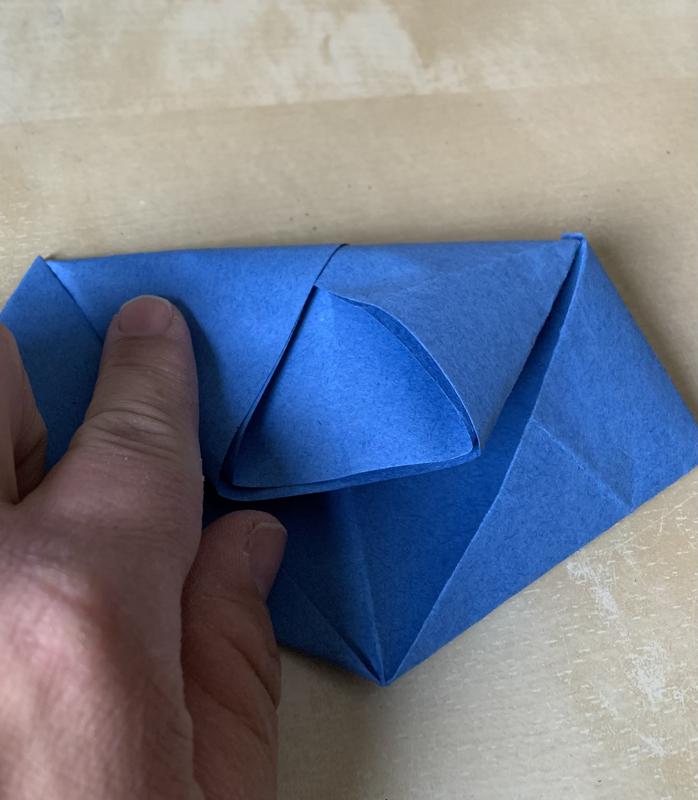
Now, make two new folds. Each of these folds will go through the corner of the previous folds, and the new crease should be perpendicular to the diagonal folded edge. Fold these flaps back. You want the top edge of the flaps on the back to line up with the top diagonal folded edge of the rest of the paper.

The bottom half of a US letter size piece of paper in a portrait orientation, with four vertical creases, and the top two corners folded down so that the corner of each flap touches a vertical crease. Each half of the diagram has a diagonal green line perpendicular to the diagonal fold and running through the corner of each flap.

A thumb presses into the paper to make the described fold.

The fold should go through the corner of the flap.

A close-up photograph of the resulting fold. We see that the two sides of the fold line up. The author's index finger is holding the paper down.

The top edges of the two sides of the fold should line up.

Now, make a crease between the two bottom corners of the flaps (parallel to the bottom edge of the paper and perpendicular to the middle crease). Then cut along that crease.

A convex pentagonal piece of paper. The pentagon has vertical symmetry. The shortest edge is the only horizontal edge. The longest edges are adjacent to the horizontal edge and each makes a 120-degree angle with the horizontal edge. The other two edges meet at the top of the pentagon at a 120-degree angle. There is a vertical crease from the top point to the horizontal edge at the bottom. There are also two pocket flaps running from the top corner to a point on the longest edge. There is a purple horizontal line running from the bottommost corner of the two flaps.

A photograph of the crease being made. The part folded in fit snugly.

When you make this crease, the part you fold down will fit snugly.

Next cut along the creases formed by folding the two flaps back.

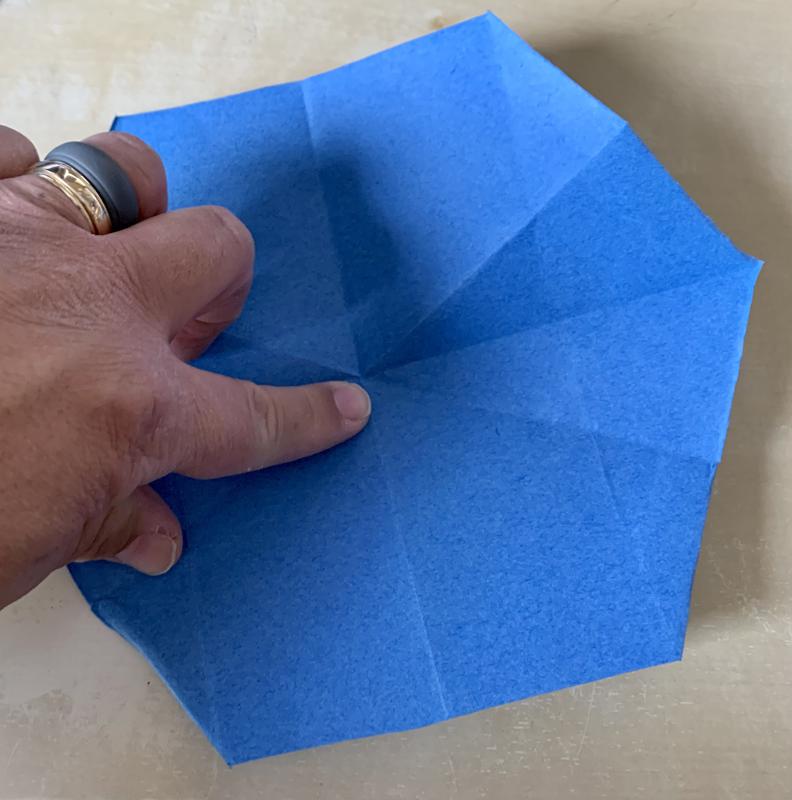
Unfold the two flaps. At this point, you should have the bottom half of a hexagon. (If you unfolded completely, you would have a regular hexagon.) Fold the resulting shape into an equilateral triangle, by making new folds from each bottom corner to the top of the middle crease.

The same piece of paper as in the diagram above, but this time with the paper beneath the purple line removed.

A hand down a piece of blue paper shaped like a regular hexagon, with various creases in it.

You don't need to unfold the entire paper at this point, but if you do, it will be a regular hexagon—or at least a close approximation.

A diagram showing the bottom half of a regular hexagon. There is a crease along the top edge of the bottom half, indicating that it has been folded over. There are five other creases coming out of the center of the top edge, in 30-degree increments. The second and fourth crease are green. There are four equally-spaced vertical creases from the top edge (one of which is one of the five previously-mentioned creases).

Fold the resulting triangle in half along the middle crease to make a right triangle. Cut out notches from the sides and corners as desired.

A diagram showing an equilateral triangle, with the bottom edge horizontal. There is a green vertical crease from the bottom edge to the top corner; this crease divides the triangle into two right triangles. A diagram showing a right triangle, made by folding an equilateral triangle in half. Several possible notches from the edge of the triangle are illustrated with purple line segments.

Unfold and you will have a hexagonal snowflake!

A diagram showing paper snowflake. The shape has symmetry along six axes, as well as six-fold rotational symmetry about its center. If cut along the six axes of symmetry, the resulting pieces would be the same as the previous diagram after the suggested notches were removed.

A hexagonal piece of blue paper with various polygon holes cut into it, and notches on the side. The paper has creases along 6 axes through its center, through the centers of each pair of opposing sides of the hexagon, and through each pair of opposite corners of the hexagon. The holes and notches cut out of the paper exhibit reflectional symmetry about each of the crease-axes.

I'm sure some chemist will come along shortly and point out how my snowflake is still unrealistic. 🤣